How to Add and Remove Locations From Profile in Athlete Connect
HOW TO ADD AND REMOVE LOCATIONS FROM YOUR PROFILE
This guide provides step-by-step instructions on how to add and remove locations from your profile in Athlete Connect. It is useful for anyone looking to organize their profile and easily access important locations when filing and updating.
1. Open Athlete Connect on your mobile device, computer, or tablet.
2. Navigate to “Profile” in the menu bar. You may need to select the three-line icon located in the top left corner of the application to open the menu bar and view the “Profile” option.
3. Select the “Address Book” tab at the top.
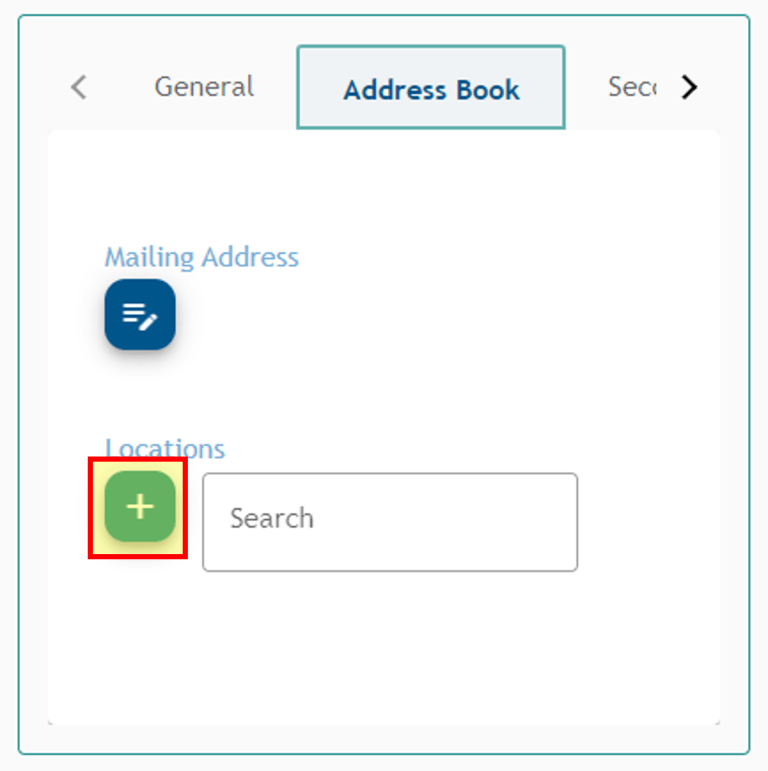
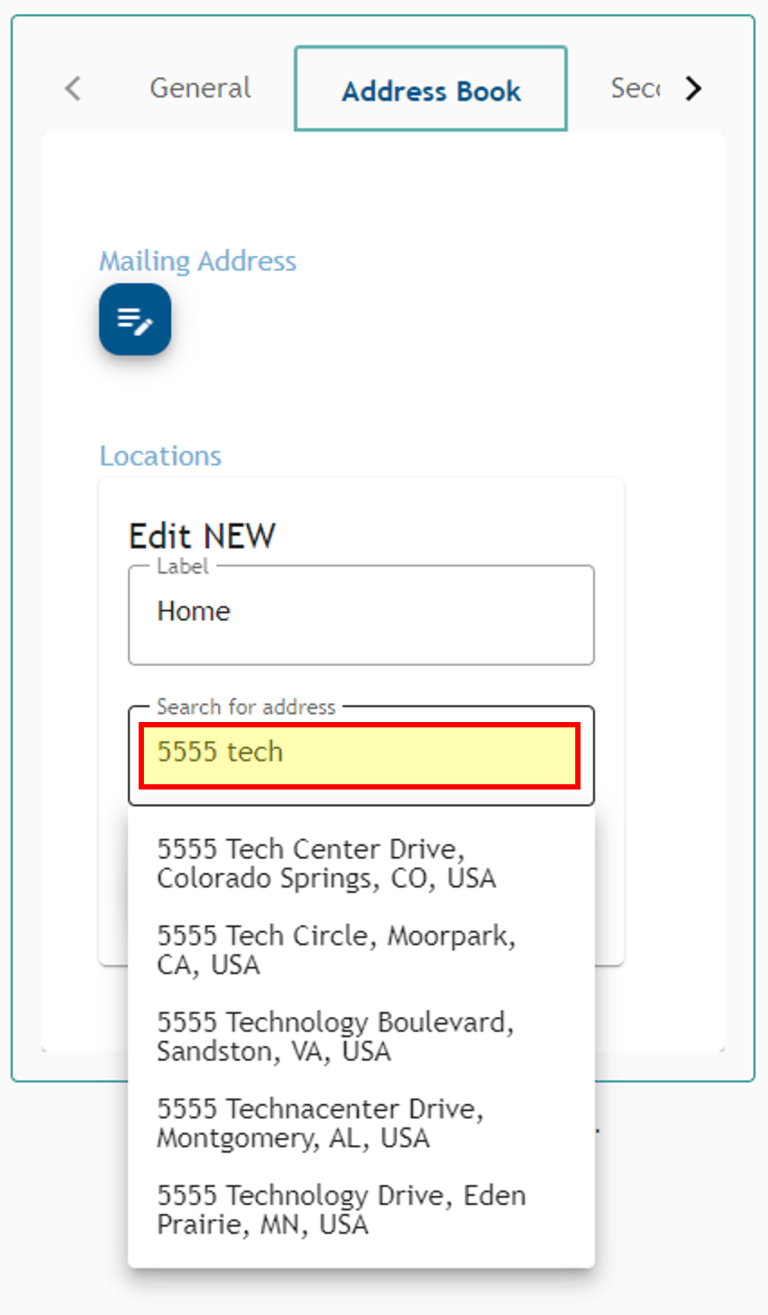
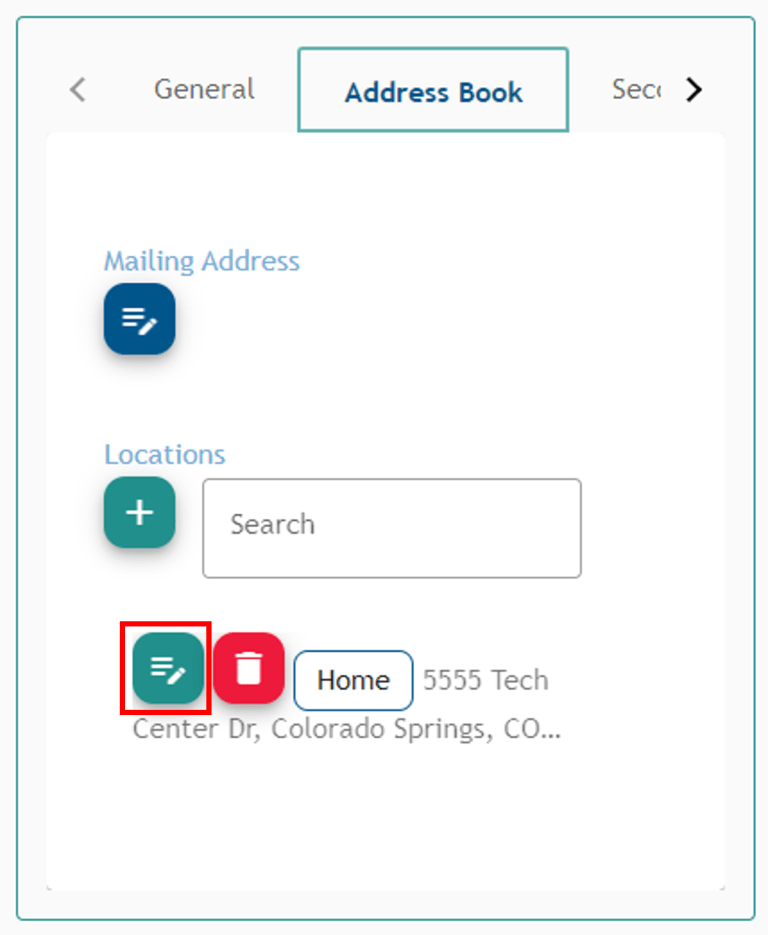
4. To add a location, select the green plus button under “Locations.”
5. Select the “Label” field and enter a label for each location. It’s important to enter a label that is specific and that you will remember.
6. Begin entering the address for your location in the address bar. Google location services will begin to populate the address once you have entered enough information. Click on the appropriate address for your location.
7. Select the blue checkmark to save this address to your address book.
8. Your new location will appear in the address book.
9. To remove an address from your address book, click the red trashcan icon to the left of the address you wish to remove.
10. To edit an address from your address book, click the green pencil icon to the left of the address you wish to edit.